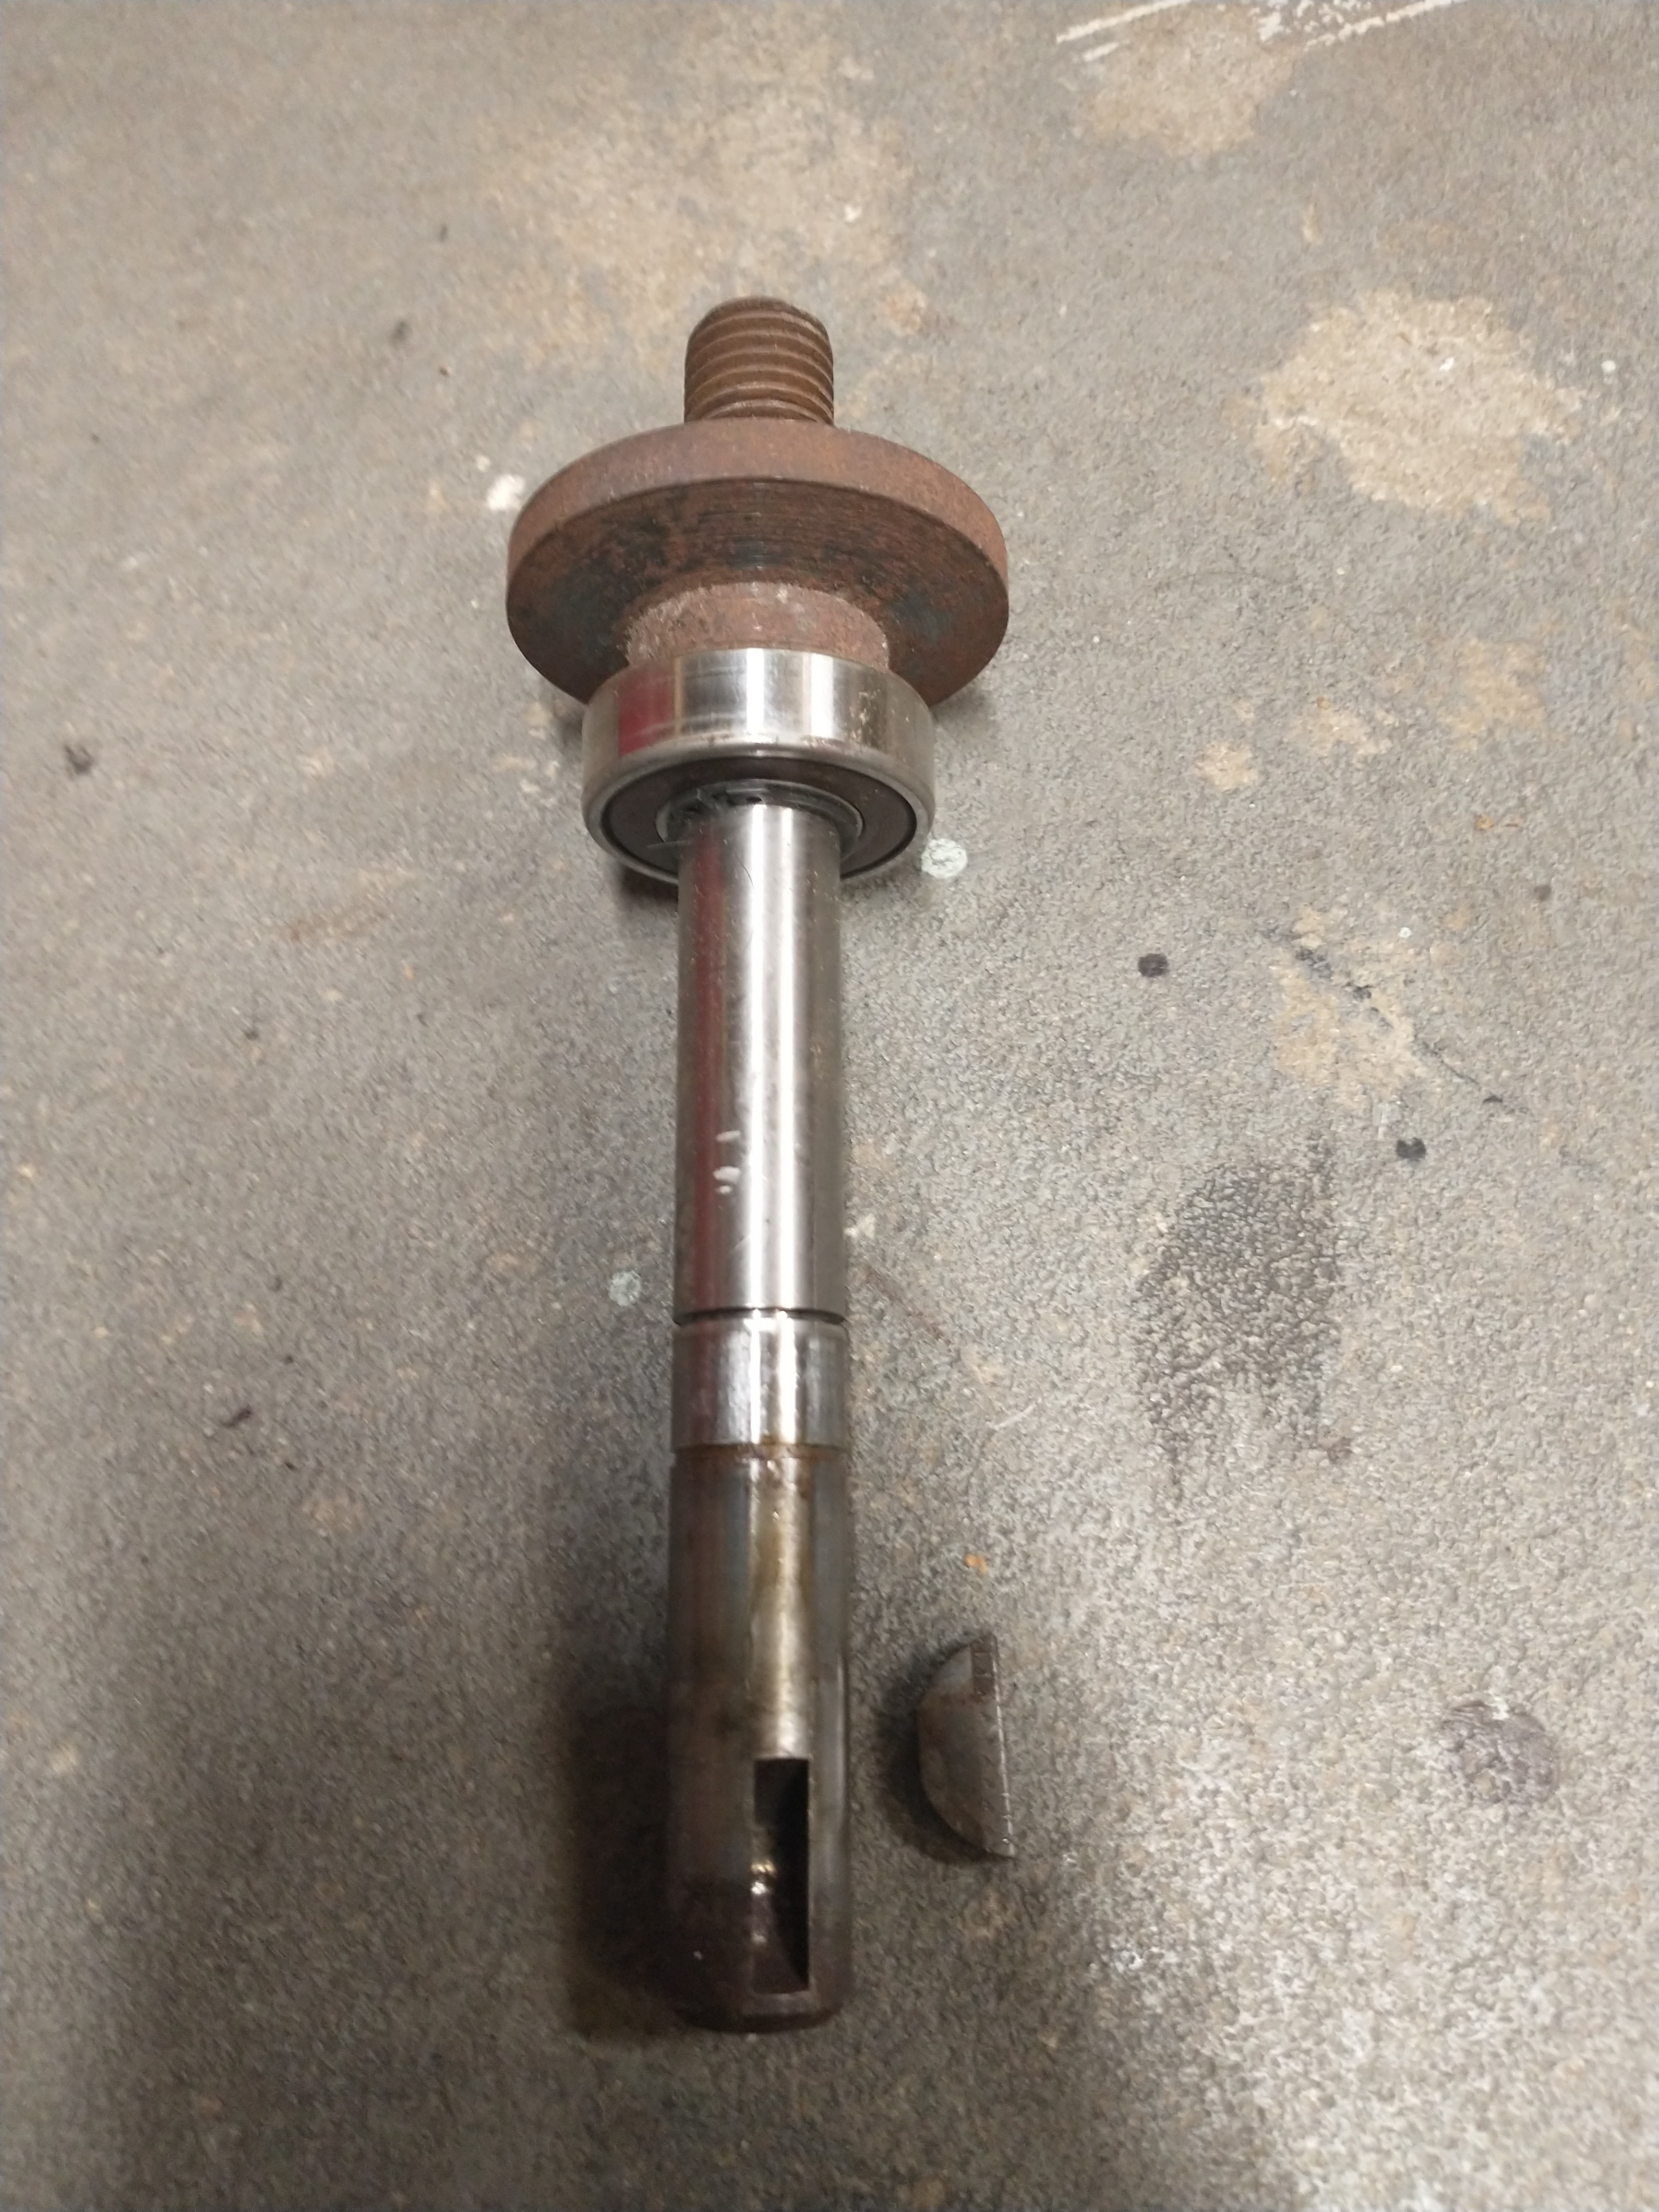
I've been slowly working on the table saw. I showed most of the disassembly in the last post. I bought snap ring pliers to disassemble the arbor.
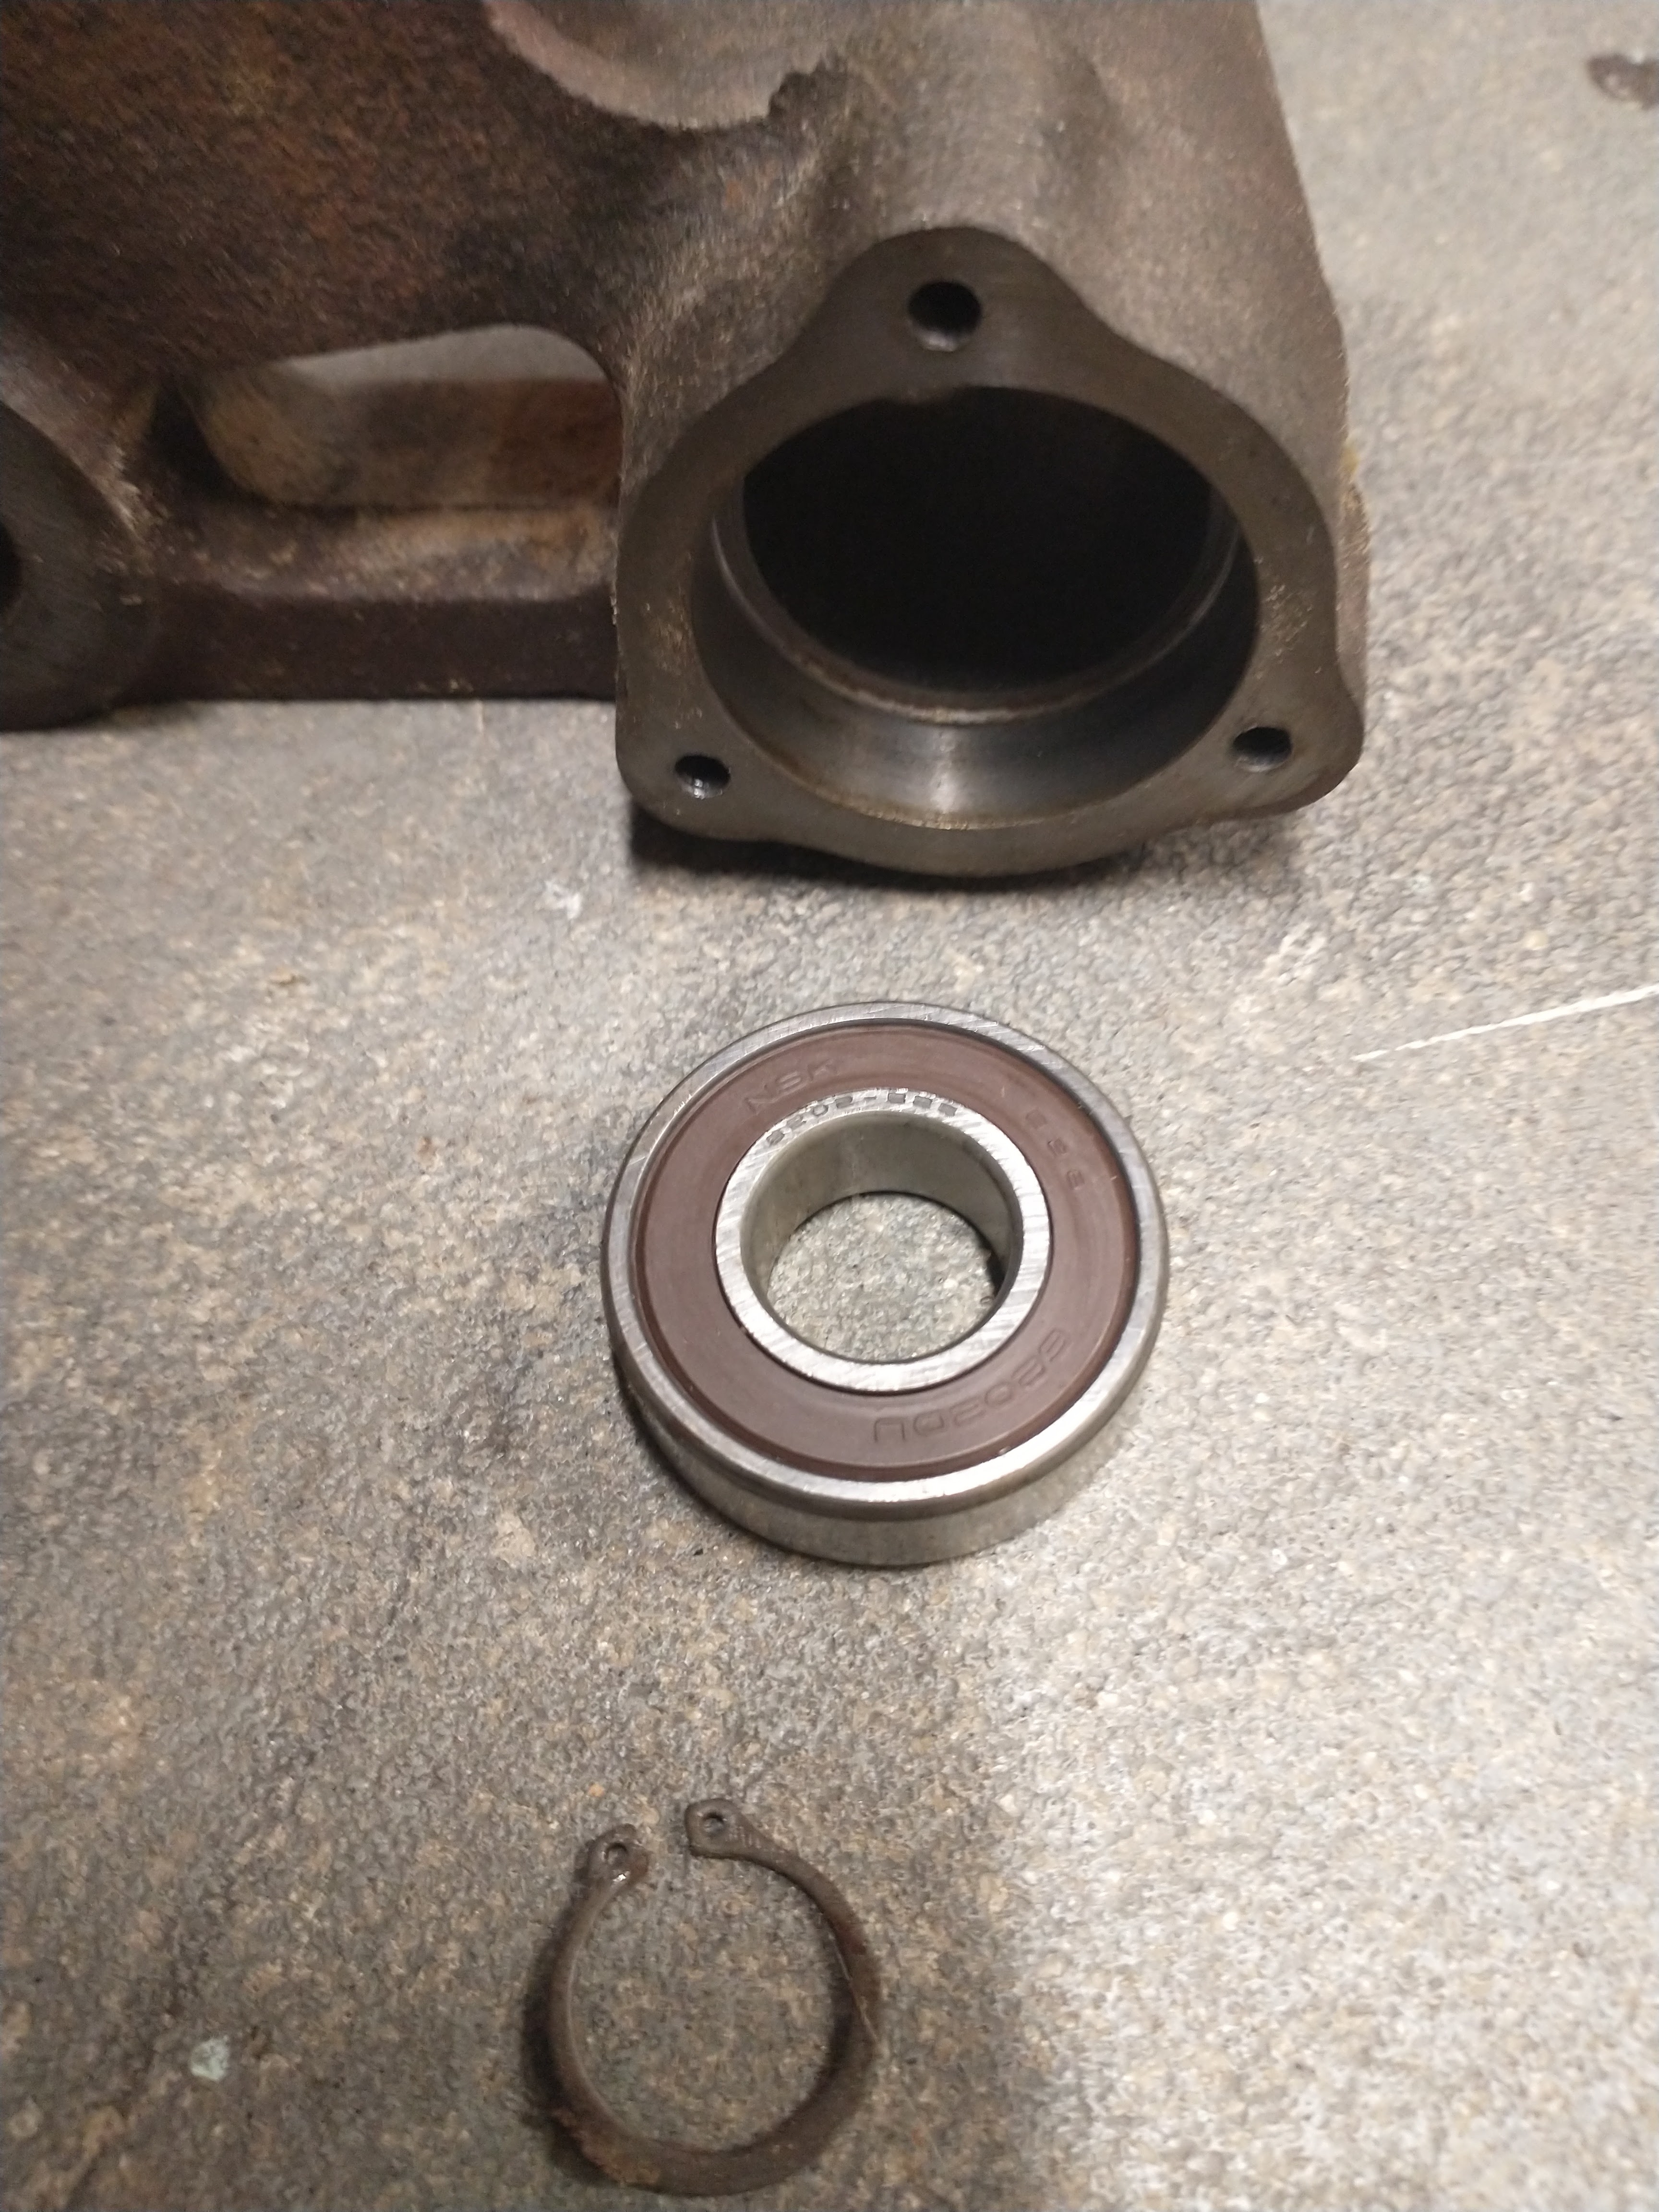
I bought new, good quality bearings (Koyo and Nachi) off ebay for the arbor and motor. I also bought a snap ring kit from harbor freight, and a new woodruff key from Ace.
Rust Removal
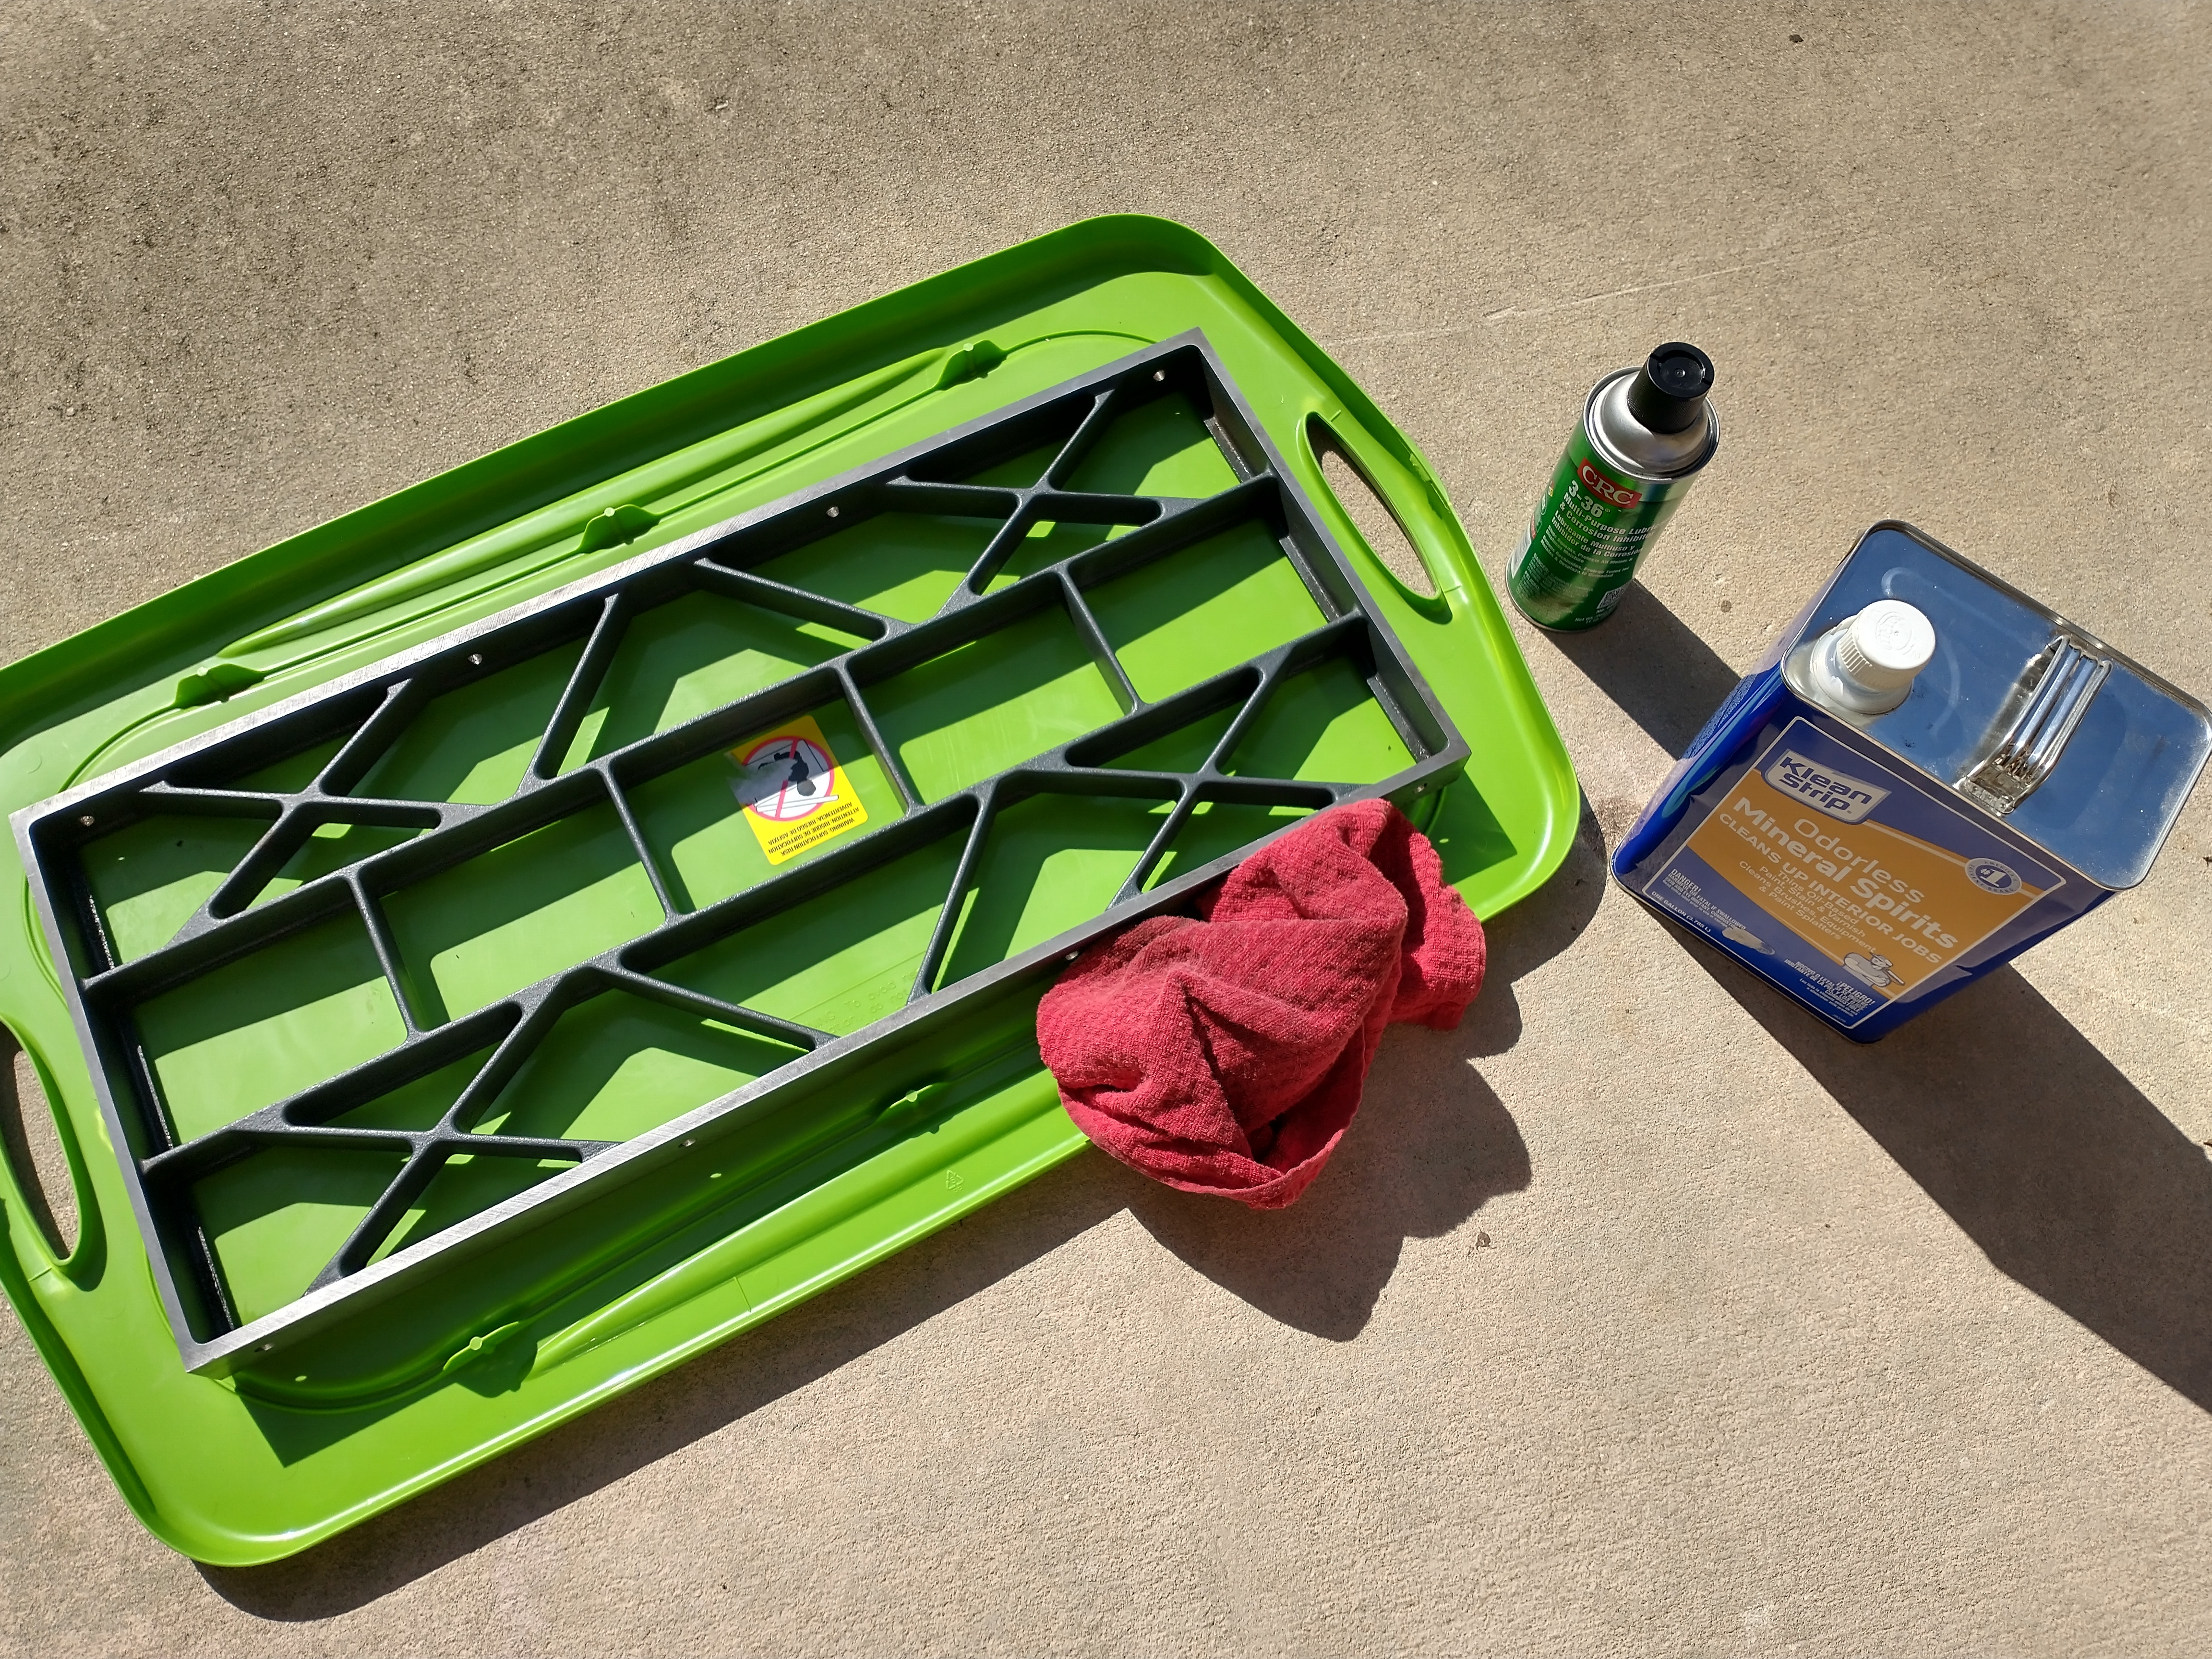
I used evaporust for the small parts. Just soak the parts in it, and it magically strips the rust off. It even gets rust out of small holes and screw threads. I then wash and dry the parts off and immediately coat them in CRC 3-36 rust and corrosion inhibitor. Many people like T-9 Boeshield, but I already had a can of this, and it works great. I put the parts in a small bag, spray the CRC into the bag, and mix the parts around it. This conserves the CRC while making less of a mess than trying to spray the parts outside the bag. Steel parts start rusting again almost immediately after drying, so I made sure to coat them in CRC ASAP. The CRC takes a day or two to "dry". I don't think it fully dries, which makes the coating somewhat self-healing, which is nice. Some of the parts have been coated for over a month now with no signs of rust, so it clearly works well.
 |
| No before shot, but these were all rusty pre-evaporust. |
 |
| Coated parts drying on wax paper. New parts to coat in bag. |
Evaporust is expensive, ~$30/gallon. That's too expensive to buy enough to immerse large parts in, like the wings. The bottle says you can soak papertowels in evaporust, wrap them around your part, then wrap all that in plastic wrap. I tried this, and it was a mess:
 |
| Looks simple, but a pain in the ass in reality. |
 |
| Gross |
Yeah...I wasn't happy with the results. Made a mess of icky paper towels, and didn't do a good job getting the rust off. I don't recommend that technique. Time for a manual method: wire wheel, scotchbright pads, and WD-40. This took multiple hours per wing and was a huge pain, but I was able to get most of the rust off. I then wiped them down with mineral spirits to get the WD-40 off, followed by a coat of CRC. They weren't perfect: still some black staining on top surface, which I don't think I could get off without sandblasting or sanding.
It was around this point that I realized I needed a better way to remove rust from intricate, large parts. I'd heard of electrolytic rust removal before, but I hadn't tried it until now. I used a part from an old rusty hand plane that I found under the old garage cabinets I tore out as a test piece.

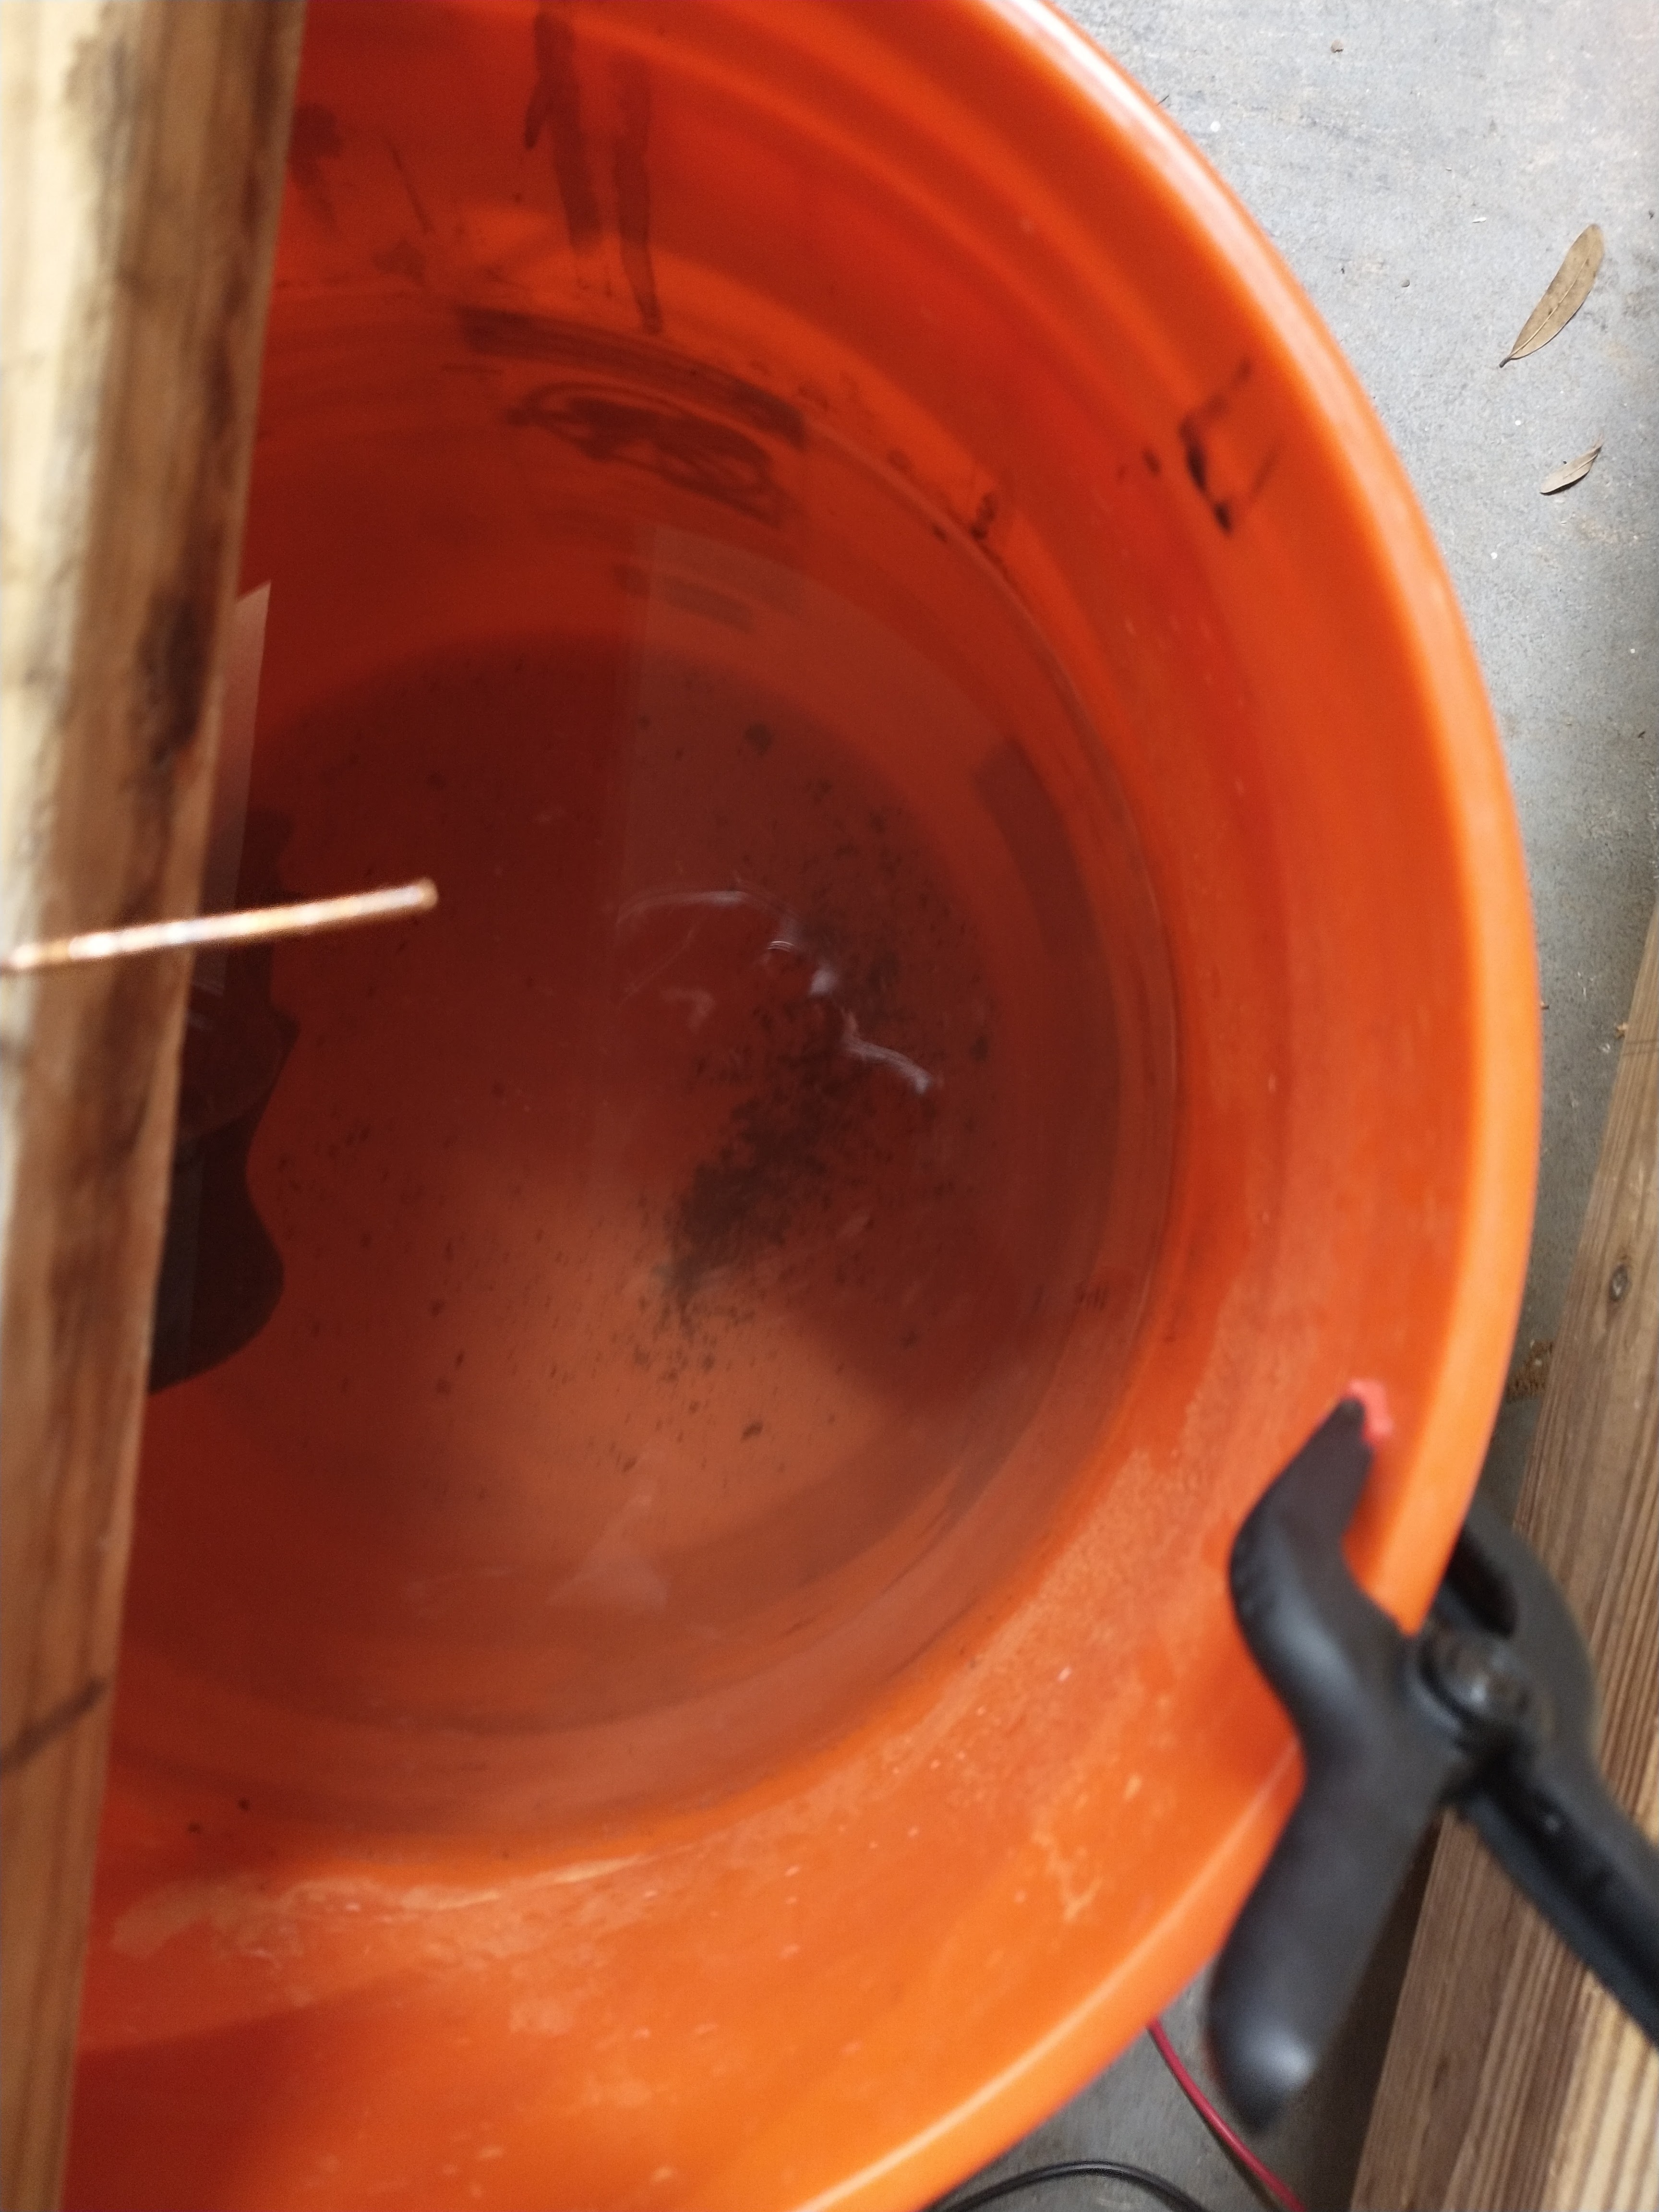
I sanded/filed the rust off of a patch of it and wrapped a piece of copper wire around it. A current controlled power supply supplies DC electricity for the electrolysis. The part to derust is the cathode. I used an old tin (tin coated steel) can as a sacrificial anode. The positive lead of the power supply is connected to the anode and the negative lead to the cathode (part to derust). The cathode and anode are submersed in a 5 gallon bucket full of water + baking soda. I made sure not to submerse my power supply leads so they wouldn't corrode. The baking soda splits into ions and acts as the electrolyte. The rust on the cathode is reduced (removed) and pulled into the solution, while the anode is oxidized (rusted if steel), which is why I called the anode "sacrificial". The electricity also splits the water: hydrogen gas is produced on the cathode, and oxygen gas on the anode, so you know it's working when you see gas bubbles forming. I set the voltage max to 24V and turned up the current to a max of about 2A. I added baking soda while stirring with a wood stick until the current stopped climbing. I then let it sit for ~12 hours.
 |
| The water got a lot grosser |
 |
| No more rust! |
It worked great at removing the rust from the part. I rinsed the part off and then coated in CRC. The can anode was almost rusted-through, though. I decided to try this on a larger part, this time the trunnion. Because this part was larger, I used two flattened cans as anodes, one on either side, which helps distribute the electric field more evenly, and thus remove rust more evenly. I also flipped it over about half way. The current got up to 5A this time due to the larger surface areas of the cathode and anodes, which was the max of the power supply. Many people use high-current lead acid battery chargers for this, and I see why. More current = faster rust removal.
 |
| Super gross. Rusty foam. |
 |
| Post rust-removal and rinsing. You can see it started rusting almost immediately. |
 |
| Coated in CRC |
Interestingly, the trunnion re-rusted in the following week. This was the first part I had re-rust after coating it in CRC. I don't think I dried enough prior to coating, and the CRC must not have displaced the moisture very well. I'm not really sure what to do about that, though. I tried using a heat gun to dry it out quickly, but that made the rust form faster. I might have to re-do the electrolysis (hopefully it'll remove the black crud), wipe it down, dry it out really well with the heat gun, then wipe off the rust with mineral spirits + scotchbrite or something like that before coating it in CRC.
The electrolysis products might look gross, but they aren't harmful. Don't use stainless steel electrodes, though, because that can cause some of the toxic elements that are in stainless steel to leech out. Graphite, rare metal oxide coated metal, and platinum also make good electrodes that don't wear as fast as steel (or at all). I'm using baking soda for the electrolyte, which is mild. Something like sodium hydroxide would also work, but would result in a basic (high pH) solution that would need to be neutralized with acid before dumping. I wear goggles and arm-length rubber gloves in a well ventilated space when using these chemicals. If you use them, be smart about it.
One annoying aspect of this method is the green-black particulate that ends up coating the part. Assuming your part isn't intricate, unlike the trunnion, it's not hard to scrape off with scotchbright, but part of the point of this method is to not have to do a lot of manual work. I only scraped it off of the important surfaces I could reach on the trunnion, hopefully that's sufficient. So what is it? Well, there's a lot of speculation and myths about it on web tutorials and forums. Some people blame the bicarbonate/carbonates from the electrolyte, or impurities from tap water. I know it's not the tap water because I actually used deionized water in the 5 gallon bucket test and saw it in that. I couldn't find any carbonate compounds that could have formed that were that color either. I'm 90% sure it's ferrous oxide (FeO) and/or Fe3O4, which will form in oxygen-poor environments instead of ferric oxide (Fe2O3, aka, rust), and I'm pretty sure it's coming from oxidation of the sacrificial steel anode. Some of it might also be tin oxide (SnO) from the tin coating. FeO, Fe3O4, and SnO are black powders. It makes sense that they'd end up in suspension in the water, and then end up coating everything. When I dumped the gross water leftover from the trunnion electrolysis, I left some of the water+black powder coating the walls and bottom of the container, and left it outside for a few hours. If it was primarily FeO or Fe3O4, the now-oxygen-rich environment would cause it to oxidize into Fe2O3, which is orange colored. If it was SnO, it would oxidize into SnO2, which is white. It all turned orange in a few hours, which confirms my hypothesis that it is FeO or Fe3O4. It shouldn't be possible for the electrolysis to be stripping raw iron off of the cathode and forming it. Thus, it's either forming from the rust pulled off of the cathode or from oxidation of the anode.
I bought some cheap graphite sheets of eBay. I also bought some sodium hydroxide (lye drain cleaner powder), hydrochloric acid (muriatic acid), and litmus paper. I did some more experiments with random rusted parts. These parts are small enough that I'd normally soak them in evaporust, but the goal here is to try to improve the process for large parts.
1. Test piece: another rusty part off of the hand planer. I used sodium hydroxide instead of baking soda, and a tin can for the anode. It didn't take much sodium hydroxide to maximize current, only a tablespoon or so for the bucket. I ran this test for about 5 hours. Surprisingly, this electrolyte resulted in a lot less green-black particulate and less anode corrosion. In fact, the anode came out with hardly any rust on it, though it was noticeably thinner. It turns out that a very basic environment can actual reduce steel corrosion. I found a paper online that suggests the mechanism is related to OH- ions forming a barrier to prevent oxidation. This is similar to why steel doesn't rust in concrete: concrete is a basic environment. Anyways, I used the HCl to neutralize the electrolyte solution prior to dumping it. I noticed green-black powder when I dumped it, but also some white, which is probably SnO2 or NaCl (salt).
 |
| Electrolysis doesn't remove staining, but does remove the rust. |
2. Test piece: another rusty part off of the hand planer. Electrolyte: Baking soda + water. Anode: graphite sheet. I ran this test for about 4 hours. For the first 3 or so of it, there was hardly any black particulate, but the last hour saw a large build up of it. This seemed to correspond to the bucket getting very warm. Also could have been the graphite becoming pitted, which probably enhanced erosion. The graphite will oxidize and form primarily CO2, but I'm guessing that some of it just eroded into the solution as particulate. This black stuff was easier to get off of the part afterwards and looks like soot. The graphite sheet lost about 0.05mm thickness during the test, which is a lot less erosion than the steel, but still pretty significant (~0.5 cm^3). Only the side that was facing the cathode was eroded.
3. Test piece: another rusty part off the hand planer. Electrolyte: Sodium hydroxide + water. Anode: graphite sheet. Black particulate was noticeable after the first hour, so it's likely the pitted surface of the graphite is enhancing erosion relative to a smooth surface. I ran this test for about 6 hours, longer because this part was more complex. It removed the rust, but I had to scrape/wipe the black gunk off of it. This black gunk/particulate doesn't turn into rust when exposed to atmosphere, so I'm 99% sure it is eroded graphite. The electrode lost about 0.15mm thickness this time, which is something like twice the erosion rate than with the baking soda electrolyte. I'm not sure how much of that was due to the difference in electrolyte vs. already starting out with a pitted surface, though. Regardless, it doesn't look like sodium hydroxide offers any benefits for electrolysis with graphite anodes.
 |
| Pre-start-up |
4. Test piece: another rusty part off of the hand planer. Electrolyte: baking soda + water. Anode: Ir-Ru MMO coated Ti mesh. I bought the anode from
The Electrode Supply. Very reasonable prices for MMO and Platinum electroplated Ti anodes, as well as plain Ti cathodes. This was the best combination of everything I've tried. After 9 hours, the anode had no noticeable wear, and the water only had rust flakes in it, no black gunk. I still had to wipe/scrub loose rust off of the part. This part was more intricate than the last ones, and electrolysis doesn't do a great job in nooks and crannies because the electric field is weaker there. No black gunk made it easier to clean off. I expect using sodium hydroxide instead of baking soda would have had a similar result.
 |
| Top: MMO coated Ti mesh, Bottom: Plain Ti mesh |
 |
| Rust flakes in bottom, water still fairly clear. |
Final Words on Rust Removal
I've used and documented many rust removal techniques in this blog. Here's my opinion on when to use which:- Small parts: soak in evaporust
- Parts too large to soak in evaporust, but smaller than the largest non-conductive watertight container that you own or can easily obtain: electrolysis with MMO anode and baking soda to avoid the black particulate coating. If you can't get or don't have a MMO anode, (and assuming you're safety-conscious) sodium hydroxide will result in less black particulate with a steel anode than sodium carbonate or sodium bicarbonate. Graphite anodes will wear slower than steel anodes, but the eroded graphite is only slightly less annoying than the black particulate generated by steel anodes.
- Parts too large for the largest non-conductive watertight container that you own or can easily obtain, and/or if you have an outdoor space in which you can use a professional sandblaster (also assuming you own a nice sandblaster): sandblasting
- Parts too large for the largest non-conductive watertight container that you own or can easily obtain, and if you don't have a professional sandblaster or a place to use it: angle grinder with wire wheels
- If money is not a problem: toss or sell whatever it is, buy a new one, and keep it coated in a rust-inhibitor to prevent rust from ever occurring.
Evaporust will not strip paint unless rust is underneath the paint. Electrolysis will sometimes strip paint. If you have small rusty parts that also have paint you need to strip, a sandblaster might be a better option: I have a small sandblaster that works well for that kind of thing. A nice plus with the sandblaster is that it doesn't get the parts wet, so they don't rust quite as fast afterwards. Always immediately coat whatever part you removed rust from in something that prevents rusting, e.g. rust-inhibiting paint-primer, oil, paste wax, WD-40, CRC 3-36, etc.
Next Steps
I need to de-rust some motor parts, as well as the main top plate. Then it's on to re-assembly! I'm planning a few modifications:
1. Make some zero-clearance throat plate inserts
2. Add a splitter behind the blade
3. Reinforce the sidewall where the bevel screw braces to prevent it from bowing.
4. New fence?